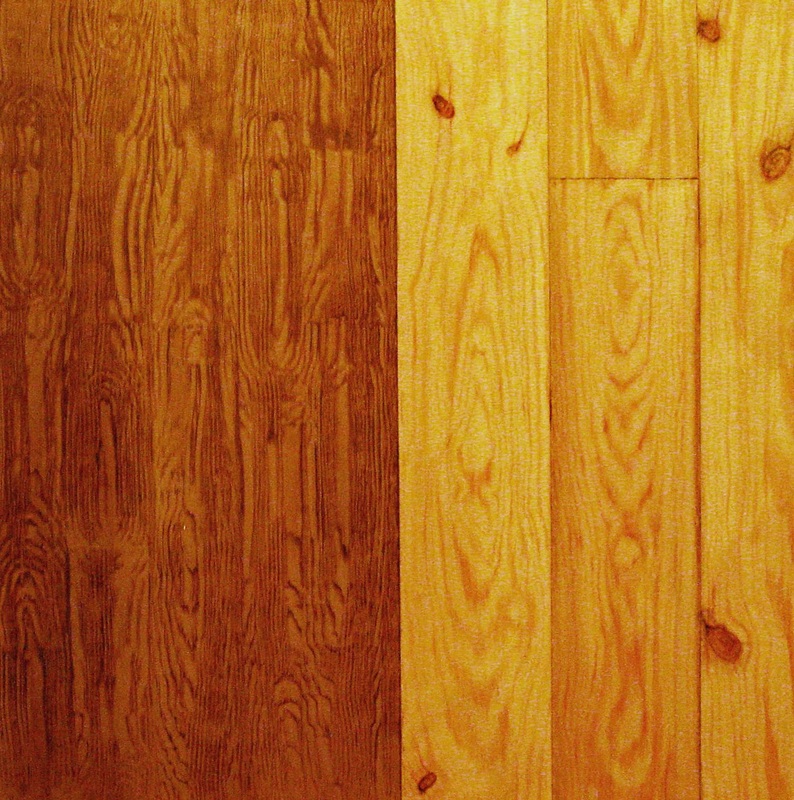
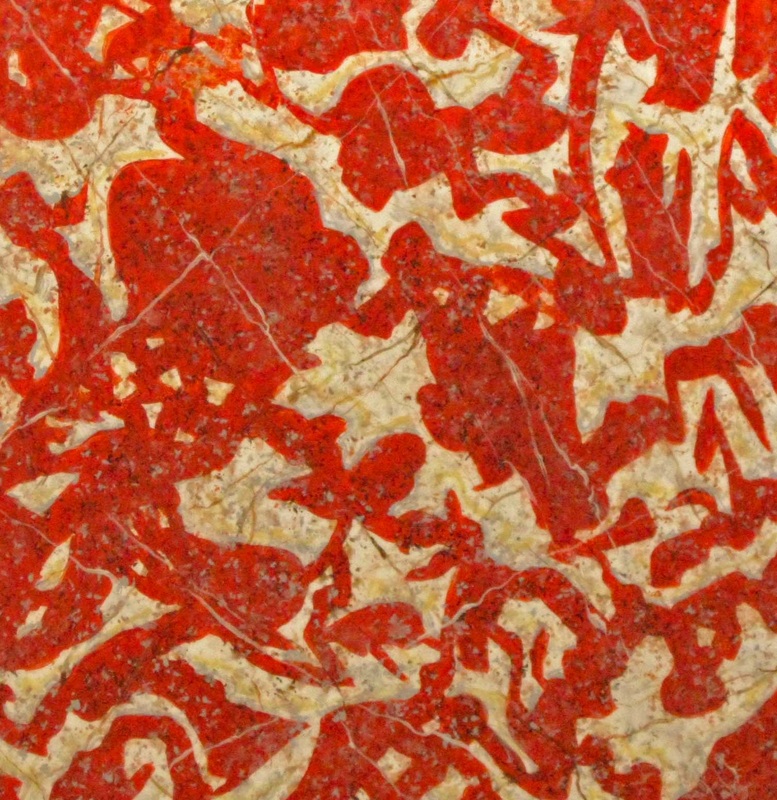
FAUX PAINTING ~ Brick, Stone, Oak, Pine, Green Marble, Red Marble, White Marble and Yellow Marble9/29/2014 I hand painted this life size Faux Brick and Stone on a Masonite panel. For the sake of realism, I added a round seep hole, which bricklayers install for water drainage. This Faux Oak Veneer and 6 inch Knotty Pine Board was also hand painted by me ... life size on Masonite Panel. For those who don't know, 6 inch Pine really measures 5 1/2 inches wide. I created all the following Marble samples on more Masonite. These samples are also life size and measure approximately 15 x 15 inches. TWO MORE TO SEE ~ CONTINUE SCROLLING ! ... Just ONE more below ! Thank you for viewing my work ! Your comments and suggestions are a GREAT pleasure to read and your personal info remains PRIVATE !!! Contact me for your special project using my e-mail above or simply CLICK HERE
8 Comments
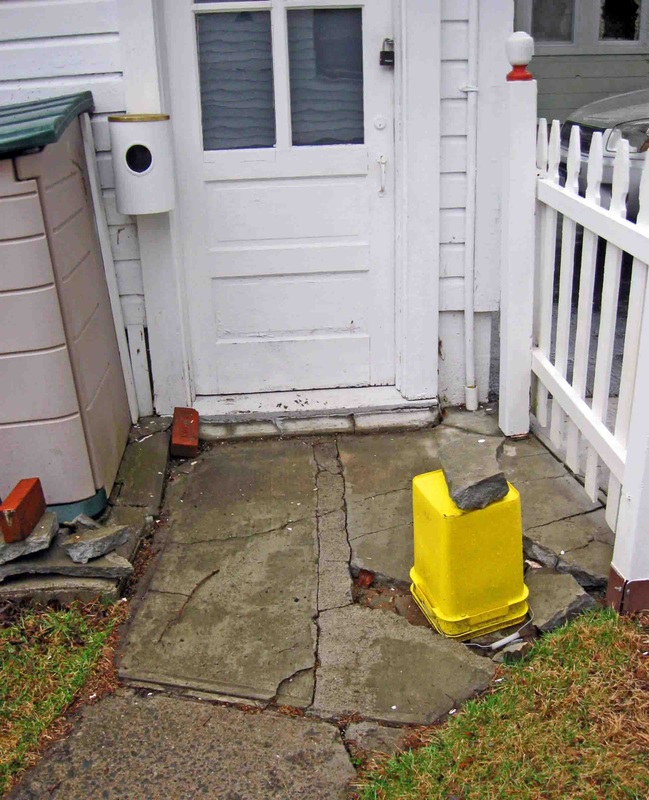
I have really enjoyed reading all your comments ! It has helped me make up my mind as to what to write about next. Your comments have encouraged me to share things of a positive nature. Anyhow, I'm grateful for your comments and hope you understand that NONE of your info is used or sold... You can always contact me via e-mail... just click on the link at the upper right corner. The winter of 2013/2014 was especially damaging in the Northeast USA. The severely cold temperatures caused heaving and consequent cracking of five inch thick aggregated concrete on my walkway and needed to be replaced ! SO ? WHAT's a WOMAN to do ? IF I CAN DO THIS, SO CAN YOU !!! 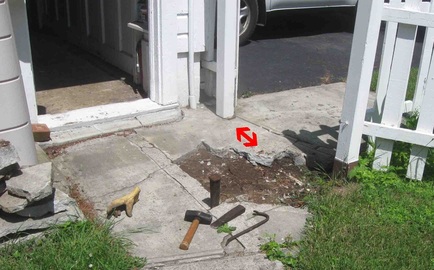 ©Underground Electric Line ~ Undine DeFilippo 2014 ©Underground Electric Line ~ Undine DeFilippo 2014 See that RED ARROW ? Well...that's pointing out a LIVE electric line running underground from the house to the garage. Hmmm... GET TO WORK !!! { here we go again ! } BUT DON'T GET ZAPPED OR WRECK ANYTHING HERE !!! 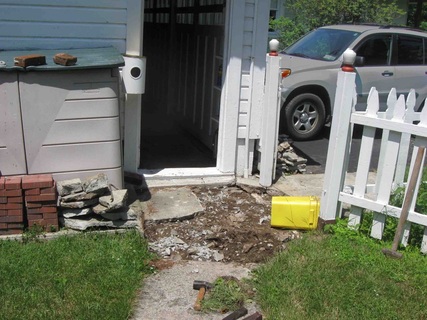 At first I was careful cracking and lifting out the concrete around the electric line... then I became impatient and used the large sledgehammer to make it break faster. GO AHEAD ! JUST GET ANGRY AND SLAM IT HARD !!! Concrete is HEAVIER than I imagined ! 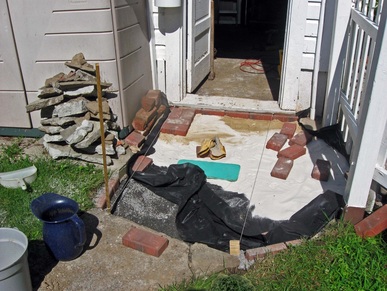 I dug out several buckets of dirt, embedded a few pavers vertically in cement to keep my project from shifting... poured in SEVEN FIFTY pound bags of gravel which is supposed to wisk moisture away and prevent winter's heave... Laid a double thickness of landscape fabric over the gravel... poured sand over that and started to lay pavers on a slant for rain water run off... 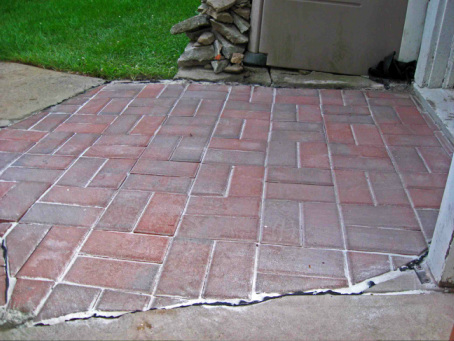 I used my handy dandy rotary cutter and custom cut pavers to fit odd spaces... trimmed the landscaping fabric... and filled in all the seams with more sand. 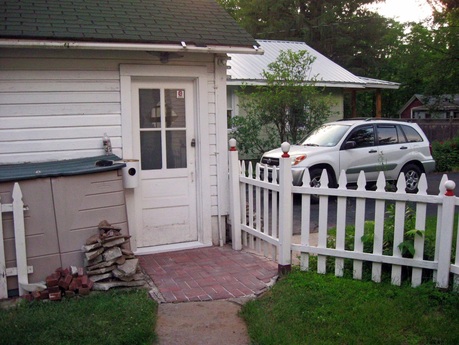 I know it's eclectic... that some would say, "ya shoulda used GRAY colored pavers to match the remaining concrete" ... butt ... y'know what ? I'm HAPPY ! I did it MYSELF and it's works for me ! IF YOU CAN BELIEVE IT YOU CAN ACHIEVE IT so...GO AHEAD and tackle that project of yours and know YOU CAN DO IT !!! How to Sheetrock a Ceiling ALL by YOURSELF with NO Help from Anyone !!! { PART THREE - FINITO }7/1/2013 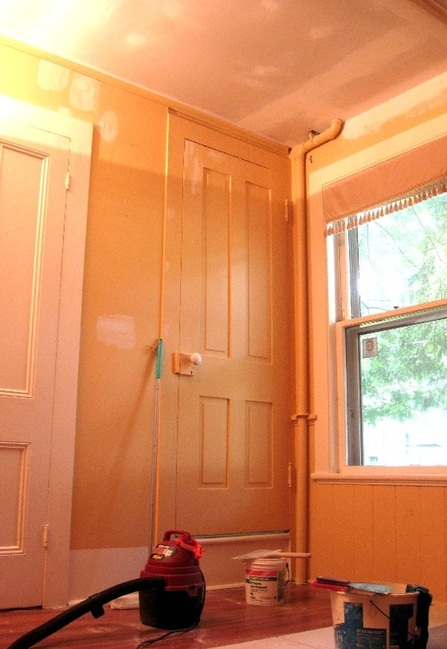 It took a few days to tape and spackle to my standard. I prefer walls as smooth as possible, which meant sanding in between three coats of joint compound. As you can see, everything gets covered with a very fine powdery dust. A mini Shop Vac, Swiffer and bucket of Murphy's Oil Soap in warm water is a God send when getting everything clean. Excited to create a soothing library ambience, I swiftly rolled in a pure white ceiling... 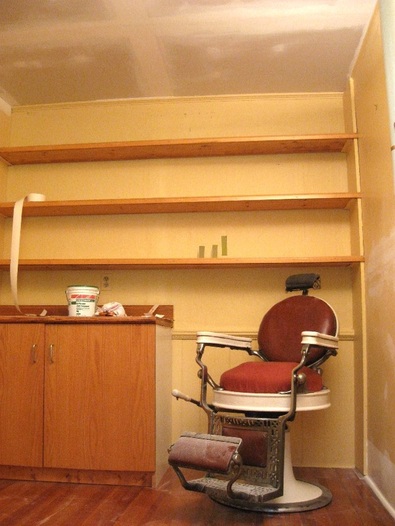 ... then purchased BEHR PREMIUM PLUS ULTRA STAIN BLOCKING PAINT & PRIMER IN ONE which has worked perfectly well on many previous projects. A quart of BRONZE GREEN { 350D-6 } was chosen as the accent color behind the book shelves. It 's the color sample furthest right in this picture. The first streaky shmeer should have been proof enough that it was destined to be HIDEOUS !!! It miserably took THREE coats to cover and ALL my patience with it. 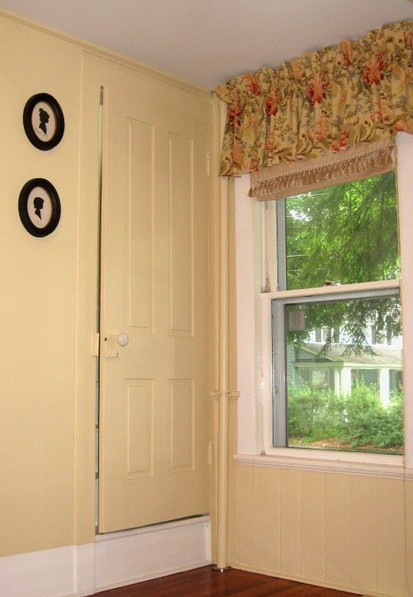 A gallon of BAVARIAN CREAM { 340E-3 } was picked for the main wall color; reminiscent of double cream with a hint of coffee. During all this, I popped yet another hole in my ragged work jeans and went to search for a suitable scrap in my fabric bin... where a long forgotten upholstery fabric proved to be just right and just enough for a new window valance that successfully conceals the pipe near the ceiling ! !!! YAY !!! I thanked God profusely for that perk and sewed it up in no time. 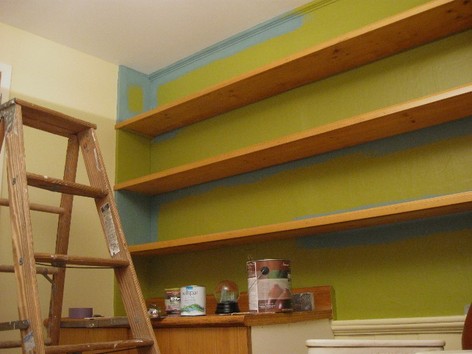 Despite lies to myself that the BRONZE GREEN would dry to the color envisioned, all it ever did was waste my time and twist my guts. YELCH It was like stepping into a dreaded eight day old bowl of pea soup and was immediately changed using VALSPAR ULTRA in PATINA BLUE 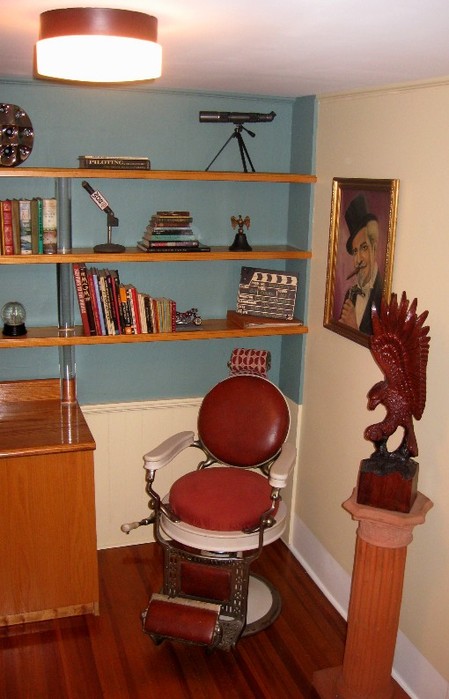 The books may not all be put back just yet... but you might be interested to know that this Barber Chair was used in a Documentary about the assassination of mob boss Albert Anastasia. You can click on his name to read more about him. I don't know who painted this portrait of Harry Blackstone, but I've always loved it. Click on his name to read more about him. "If you believe you can do a thing, you can. If you believe you cannot, you cannot." Your comments are most WELCOME 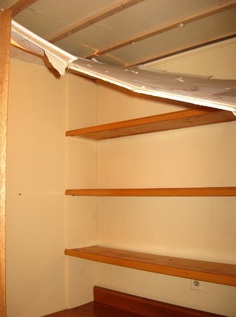 As you saw in the previous post, { PART ONE / CLICK HERE TO SEE }, 1930's ceiling block came down in the library of an 1865 Amish built house. It also came down in the adjacent hallway. GOOD !!! It was high time for it to be replaced. The room could use a better color anyhow ! After the pity party... after the cussing and cleaning... WHAT's NEXT ??? Get out the graph paper and measuring tape. Figure out just exactly how many 1/2 inch 4 x 8 foot pieces of Sheetrock you need. In this case, I needed FOUR, which the lumberyard promptly delivered ! !!! HOORAH !!! 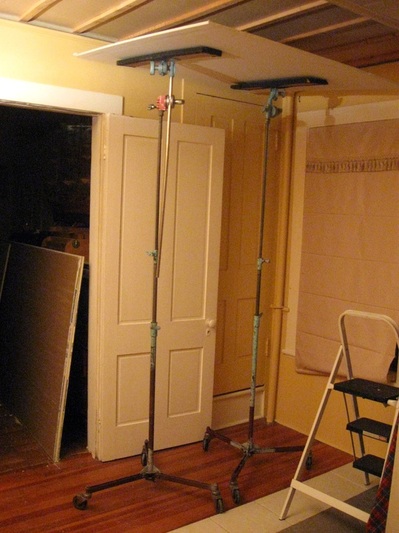 Stanchions once used at DeFILIPPO STUDIO SOUND STAGE and SPECIAL EFFECTS HOUSE came in super handy ! Using a matte knife, the Sheetrock was cut into manageable pieces for a single woman { me } to lift onto the platform created by the Stanchions. I used a pencil to mark where the wood slats would be, thereby taking the guess work out of knowing WHERE to screw it in once the piece is up and blocking the view of what's underneath. 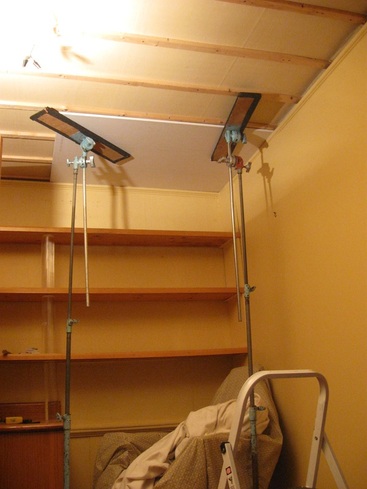 Then it simply became a matter of lifting one Stanchion a bit at a time, rolling them simultaneously to fit the intended area, until the Sheetrock was exactly, precisely where I wanted and flush to the ceiling. A few Sheetrock screws strategically placed with the hand gun and I was in business ... 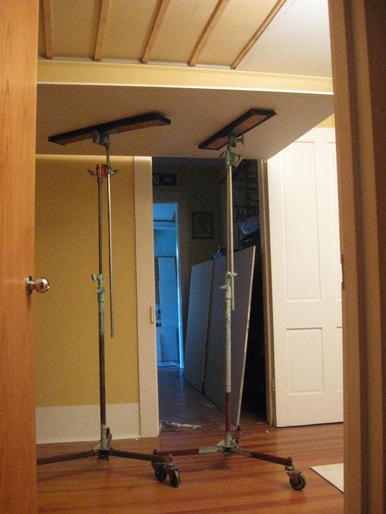 WITH NO ONE's HELP ! Yup... it's ALL up ! ...and... if I can do it, YOU can do it too ! { if you have to } Come back in a few days to see the next steps... 'cause I aint done yet ! |
 Undine DeFilippo Undine DeFilippo
Categories
All
Archives
May 2019
|





 RSS Feed